Custom Classroom Door Decor Laser Cut: A Strategic Approach to Classroom Identity
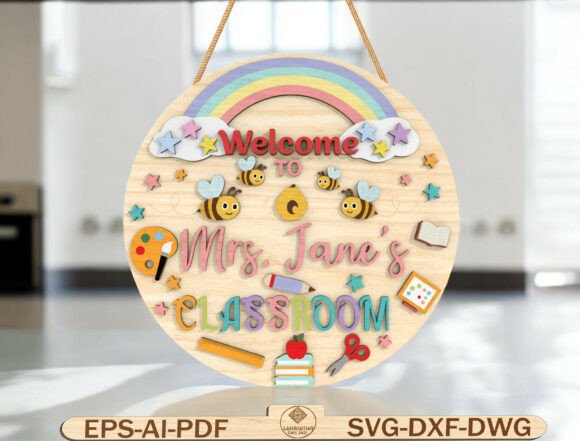
The transition from summer break to the start of a new academic year is not merely a change in calendar dates; it is a logistical and psychological shift for educators, students, and parents. In this high-stakes environment, first impressions are critical. The classroom door serves as the primary threshold between the outside world and the learning sanctuary within. While traditional paper decorations have their place, there is a growing trend among educators and DIY enthusiasts toward durable, professional-grade aesthetics using Custom Classroom Door Decor Laser Cut solutions. This approach transforms a simple entryway into a branded, welcoming space that sets the tone for the entire year.
Implementing laser-cut signage requires more than just purchasing a digital file. It involves understanding material properties, machine capabilities, and assembly workflows. For teachers who are also crafters, small business owners selling teacher supplies, or school administrators looking to standardize departmental aesthetics, mastering this process offers significant long-term benefits. Unlike paper signs that tear, fade, or get damaged by daily traffic, laser-cut wood or acrylic pieces provide a permanent, polished look that withstands the rigors of a busy hallway.
Understanding the Digital Asset Workflow
The foundation of any successful laser-cut project lies in the preparation of the digital design files. Modern educational decor often relies on scalable vector graphics (SVG) or compatible formats like DXF, EPS, AI, PDF, and DWG. These formats are essential because they allow for precise scaling without loss of quality, ensuring that intricate details—such as the fine lines of a pencil illustration or the curves of a welcome sign—are rendered accurately by the cutting machine.
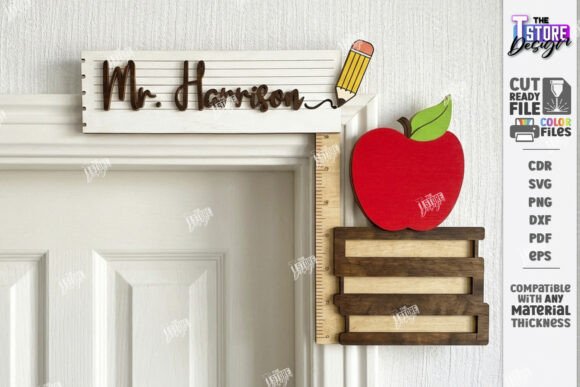
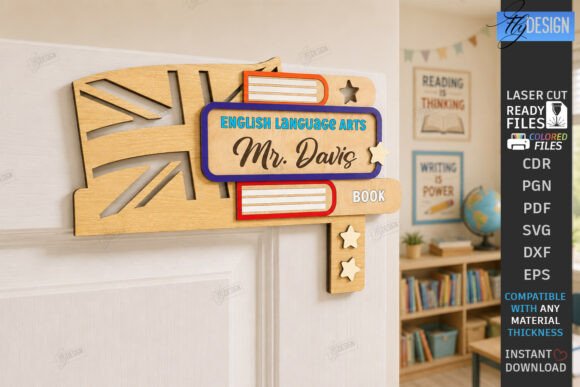
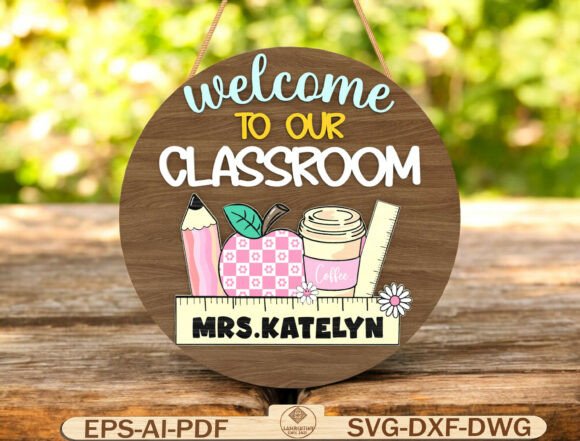
When selecting a design, such as a layered round sign featuring school-themed elements like apples, rulers, flowers, and coffee cups, users must evaluate the complexity of the cut paths. A well-structured SVG file separates different layers logically, allowing the operator to assign specific colors or materials to each component. For instance, the background circle might be cut from natural birch plywood, while the foreground text and icons are cut from contrasting colored MDF or acrylic. This layering technique adds depth and visual interest, moving the decor beyond flat, two-dimensional appearances.
Compatibility with various software platforms is another crucial factor. Designs intended for Glowforge, xTool, Cricut, LightBurn, or general CNC machines should include clear instructions on how to import them. Beginners should look for files that are "clean-cut," meaning there are no overlapping lines or unnecessary nodes that could cause the laser to burn excessively or the blade to snag. Proper organization of these digital assets ensures that the transition from screen to physical object is smooth and efficient.
Material Selection and Machine Configuration
Once the digital file is prepared, the next phase involves material selection. The choice of substrate directly impacts the final aesthetic and durability of the Custom Classroom Door Decor Laser Cut product. Wood, particularly Baltic birch plywood and MDF (Medium Density Fiberboard), remains the most popular choice for classroom signs due to its warmth and ability to accept paint or stain. However, these materials require careful attention to laser settings to prevent charring, especially if the finished product will be painted over.
Acrylic offers a modern alternative, providing vibrant colors and a glossy finish that can be striking under fluorescent hallway lighting. When working with acrylic, ventilation and cooling settings become paramount to avoid melting or cracking. Additionally, some educators opt for a mixed-media approach, combining wood bases with acrylic accents to create a unique, high-end look.
Before beginning the cut, operators must calibrate their machines. This includes adjusting power and speed settings based on the material thickness. A common workflow involves running a test cut on a scrap piece of the same material to verify focus depth and cut clarity. For complex designs with multiple layers, creating a registration mark system can help align pieces perfectly during assembly. This step is vital for maintaining consistency, especially when producing multiple signs for a grade-level team or a small business inventory.
Assembly and Finishing Techniques
The assembly phase is where the design truly comes to life. Layered signs require precision alignment. Many educators use double-sided foam tape or specialized adhesive dots to create a floating effect between layers, adding dimensionality to the design. Alternatively, wood glue provides a stronger bond but requires clamping time and careful application to avoid visible residue.
Finishing touches play a significant role in the perceived quality of the decor. If using wood, sanding the edges after cutting removes roughness and prepares the surface for painting. Acrylic pieces may require polishing if laser burn marks are visible on the edges. Customization options, such as hand-painting the teacher’s name or adding glitter accents, allow for personalization that resonates with students. However, it is important to balance creativity with practicality; overly textured surfaces can collect dust or interfere with mounting hardware.
For those integrating this into a business workflow, establishing a standard operating procedure (SOP) for assembly ensures that every product meets quality standards. This might include a checklist for inspecting cut edges, verifying layer alignment, and testing adhesive strength before packaging. Consistency in finishing techniques builds trust with customers and reduces returns or complaints.
Integration into Broader Educational Goals
Beyond aesthetics, Custom Classroom Door Decor Laser Cut items serve functional roles in classroom management and community building. A clearly labeled, inviting entrance helps reduce anxiety for new students and visitors. It signals organization and care, qualities that parents value highly. Furthermore, these signs can be used as part of a broader branding strategy for a school or district, creating a cohesive visual identity across classrooms.
In terms of longevity, laser-cut decor outperforms temporary paper alternatives. They can be stored easily and reused year after year, with only minor updates needed, such as changing the teacher’s name or the academic year. This sustainability aspect appeals to environmentally conscious educators and budget-conscious schools. Additionally, these items make excellent gifts for teacher appreciation events, offering a tangible token of gratitude that lasts longer than perishable treats.
For small business owners in the teacher supply niche, offering customizable laser-cut designs opens up revenue streams. By providing editable templates, customers can personalize products themselves using home cutting machines, or they can purchase pre-made versions. Understanding the technical requirements of your customer base—whether they are hobbyists with Cricut machines or professionals with industrial lasers—is key to marketing these products effectively.
Optimizing for Efficiency and Quality Control
To maximize efficiency, keep a library of proven design files and material settings. Documenting optimal laser parameters for different thicknesses of wood and acrylic saves time and reduces material waste. Similarly, organizing physical storage for cut components allows for quick assembly when orders or projects come in.
Quality control should be integrated at every stage. Inspect digital files for errors before sending them to the machine. Check raw materials for defects like knots or warping that could affect the cut. During assembly, ensure that all layers are securely attached and visually aligned. Finally, inspect the finished product for cleanliness, removing any soot or adhesive residue.
By treating Custom Classroom Door Decor Laser Cut production as a structured process rather than a casual craft, educators and entrepreneurs can achieve professional results consistently. This methodical approach enhances the overall classroom environment, supports business growth, and provides lasting value through durable, personalized decor.