Teacher Classroom Sign Laser Cut File
Creating a welcoming classroom environment is one of the most impactful things an educator can do on the first day of school. While fresh paint and new desks set the stage, personalized touches create the emotional connection that helps students feel safe and valued. This is where a Teacher Classroom Sign Laser Cut File becomes an invaluable tool for educators, DIY enthusiasts, and small business owners alike. By leveraging digital design files, you can transform simple wood or acrylic sheets into vibrant, layered decorations that speak directly to your students’ hearts.
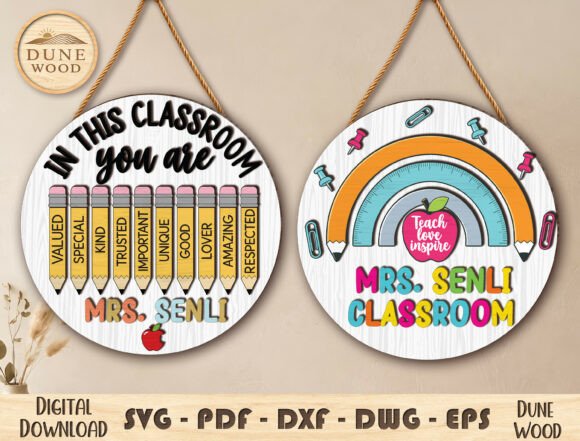
The specific design discussed here offers two distinct yet complementary styles: a pencil-themed sign featuring positive affirmations and a rainbow-themed sign with an inspiring message. Understanding how to properly utilize these files ensures that your final product looks professional, durable, and deeply personal. Below, we explore the nuances of working with these designs, common pitfalls to avoid, and practical advice for achieving the best results.
Understanding the Design Options
Before diving into the technical aspects of laser cutting, it is essential to appreciate the creative intent behind these two styles. The first design centers on emotional support. It reads “In This Classroom You Are…” followed by a list of encouraging words such as Valued, Special, Kind, Trusted, Important, Unique, Good, Loved, Amazing, and Respected. This approach moves beyond standard decor; it actively reinforces a positive classroom culture from day one.
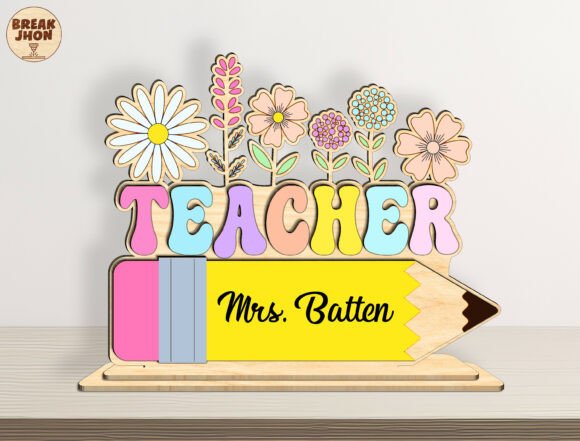
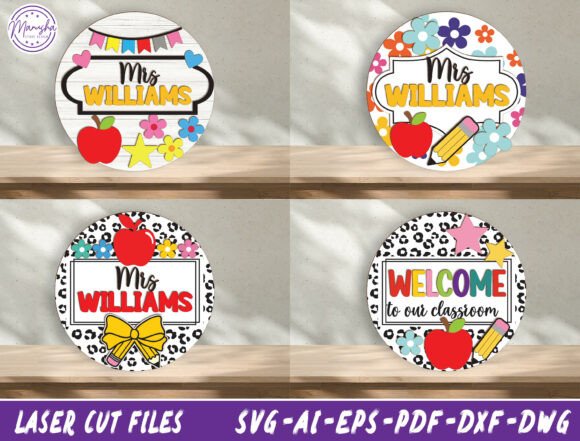
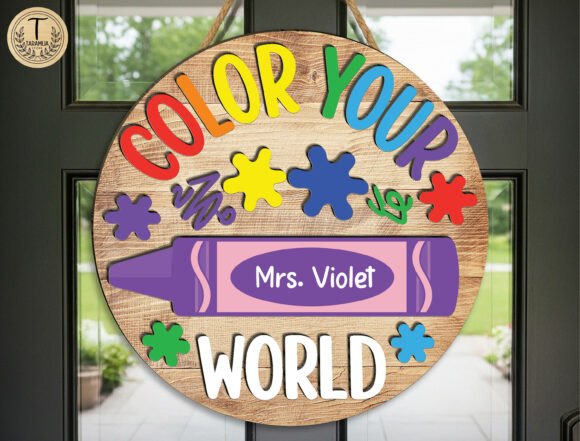
The second option features a colorful rainbow pencil paired with the phrase “Teach Love Inspire” and space for customizable text like “Mrs. Name Classroom.” This style is particularly effective for door signs, serving as both a greeting and a brand identity for your classroom. Both designs are layered, meaning they are not single-piece silhouettes but rather collections of shapes that fit together to create depth and visual interest.
Why Layered Designs Matter
A common misconception among beginners is that laser cut files are flat and monochromatic. However, layered designs allow for painting, staining, or using different materials for each piece. This layering technique adds dimension, making the sign stand out against a door or wall. For instance, you might use bright red for the pencil tip, yellow for the body, and blue for the eraser, creating a pop of color that draws the eye. Without understanding the layer structure, you might miss opportunities to enhance the visual impact through color blocking or material contrast.
Common Mistakes When Using Laser Cut Files
While the concept seems straightforward, executing a high-quality finished product requires attention to detail. Many users encounter issues not because the design is flawed, but because of overlooked preparation steps. Here are some frequent errors and how to correct them.
Ignoring File Compatibility and Formats
The file package includes six formats: AI, SVG, DXF, EPS, PDF, and DWG. While this variety suggests broad compatibility, it also introduces complexity. Not all software handles every format equally well. For example, if you are using Glowforge or LightBurn, SVG and DXF are typically the most reliable choices. If you attempt to import an AI file into a machine-specific interface without proper conversion, you may face alignment issues or missing elements.
Better Approach: Always check the recommended file type for your specific machine. If you are using a CNC router versus a CO2 laser, the required vector precision might differ. Start with the SVG or DXF files unless your workflow specifically demands Adobe Illustrator (AI) or CorelDRAW (CDR/EPS) capabilities.
Overlooking Material Thickness and Fit
Layered designs rely on pieces fitting together snugly. A frequent mistake is assuming that all wood or acrylic sheets have uniform thickness. If your design calls for 1/8-inch material but you are using 1/4-inch stock, the layers will not align correctly, resulting in a warped or loose assembly. Additionally, laser kerf—the width of the material removed by the laser beam—can affect fit. In tight-fitting joints, this slight removal can cause gaps.
Better Approach: Verify the thickness of your chosen material before setting up your job. Most modern software allows you to adjust settings based on material thickness. If you notice gaps in your test cuts, consider adjusting the scaling slightly or using a spacer during assembly to account for kerf differences.
Neglecting Test Cuts
Jumping straight into expensive materials like stained basswood or clear acrylic is a costly error. Laser cutters can behave differently depending on humidity, lens cleanliness, and power calibration. Skipping a test cut on scrap material means you risk ruining your primary project due to improper focus or speed settings.
Better Approach: Always perform a test cut on a small section of your material. Check for clean edges, complete penetration, and accurate scaling. Adjust power and speed settings until the cut is crisp without excessive burning. This step saves time and money in the long run.
Maximizing Usability and Personalization
One of the greatest strengths of this digital download is its customizability. The ability to add a teacher’s name transforms a generic decoration into a meaningful gift or a unique classroom identifier. However, editing text in vector files requires care to maintain readability and aesthetic balance.
- Font Selection: When adding names, choose fonts that match the playful tone of the original design. Avoid overly thin or script fonts that may become illegible when scaled down or engraved.
- Text Placement: Ensure the added text fits within the designated area without overlapping other elements. Use the software’s bounding box tools to visualize the space before committing to changes.
- Color Coordination: Plan your paint or stain colors in advance. Sketching a quick mockup can help you decide which layers should be bold and which should serve as subtle background accents.
Evaluating Your Purchase Decision
When considering a Teacher Classroom Sign Laser Cut File, remember that you are purchasing intellectual property, not a physical object. This distinction is crucial for managing expectations. Buyers often mistakenly expect shipping confirmation emails or physical delivery notices. Ensure you understand that this is a digital product intended for immediate download and personal fabrication.
Furthermore, evaluate your own skill level and equipment. If you do not own a laser cutter or engraver, look for local makerspaces or online services that offer cutting services. Many platforms accept SVG or DXF files and will cut the design for you, allowing you to focus on assembly and decoration. This option is ideal for teachers who want the final product but lack the machinery to produce it themselves.
Conclusion
A well-crafted classroom sign does more than decorate a door; it sets the tone for learning and belonging. By choosing a layered design like the pencil and rainbow themes, you gain flexibility in customization and visual appeal. Success lies in preparation: selecting the right file format, verifying material thickness, performing test cuts, and planning your color scheme. Avoiding these common mistakes ensures that your effort translates into a stunning, durable piece that students will cherish. Whether you are crafting a personal gift or producing items for a small business, mastering the use of these digital files empowers you to create professional-quality results with minimal waste and maximum creativity.